DIY Flower Bed
Dec 27, 2023 By Natmed

In May last year, our construction union failed to reach an agreement with the employer over wages and therefore went on strike for two weeks. I had nothing to do at home, so I thought that the tree in front of my door needed a beautiful flower bed, so I took this opportunity to complete it.
Before starting construction, I considered that the size of the flower bed should not be too small, otherwise it would not be grand enough; also it should not be too big, because it would look too silly, so a diameter of about 4 feet and a height of about 8 inches would be more appropriate.
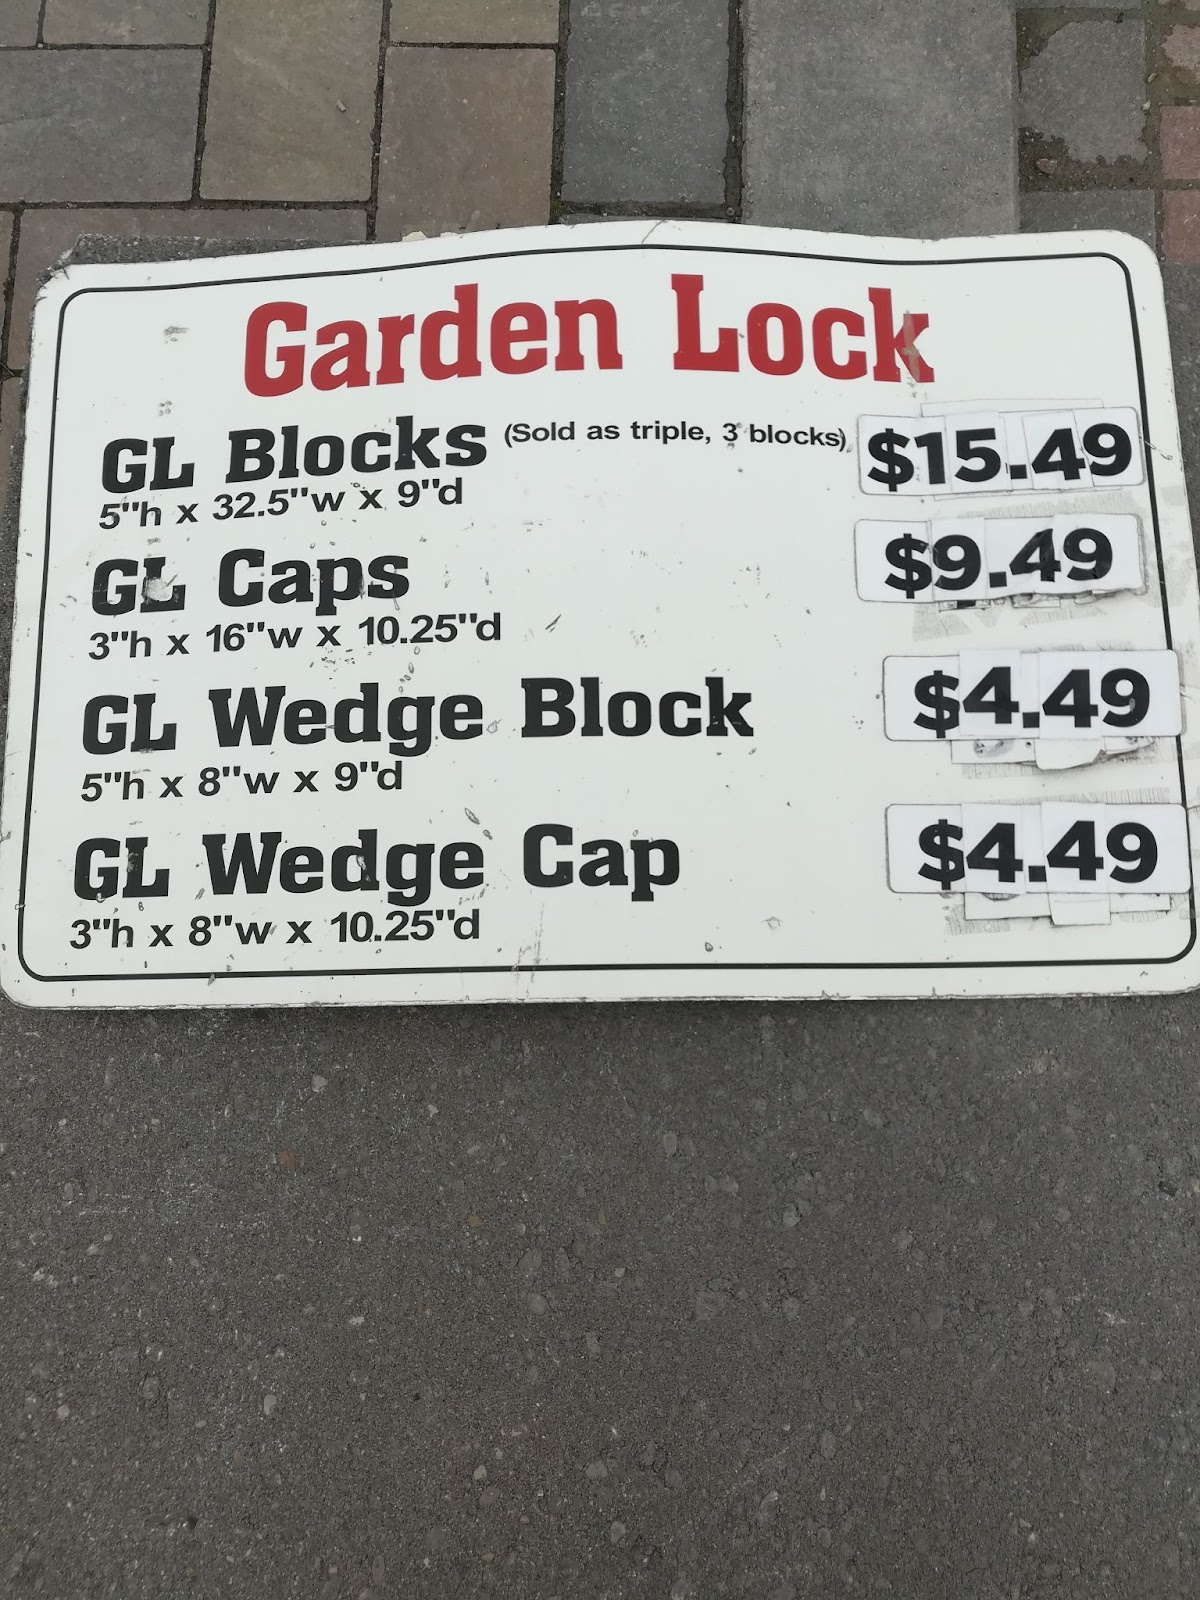
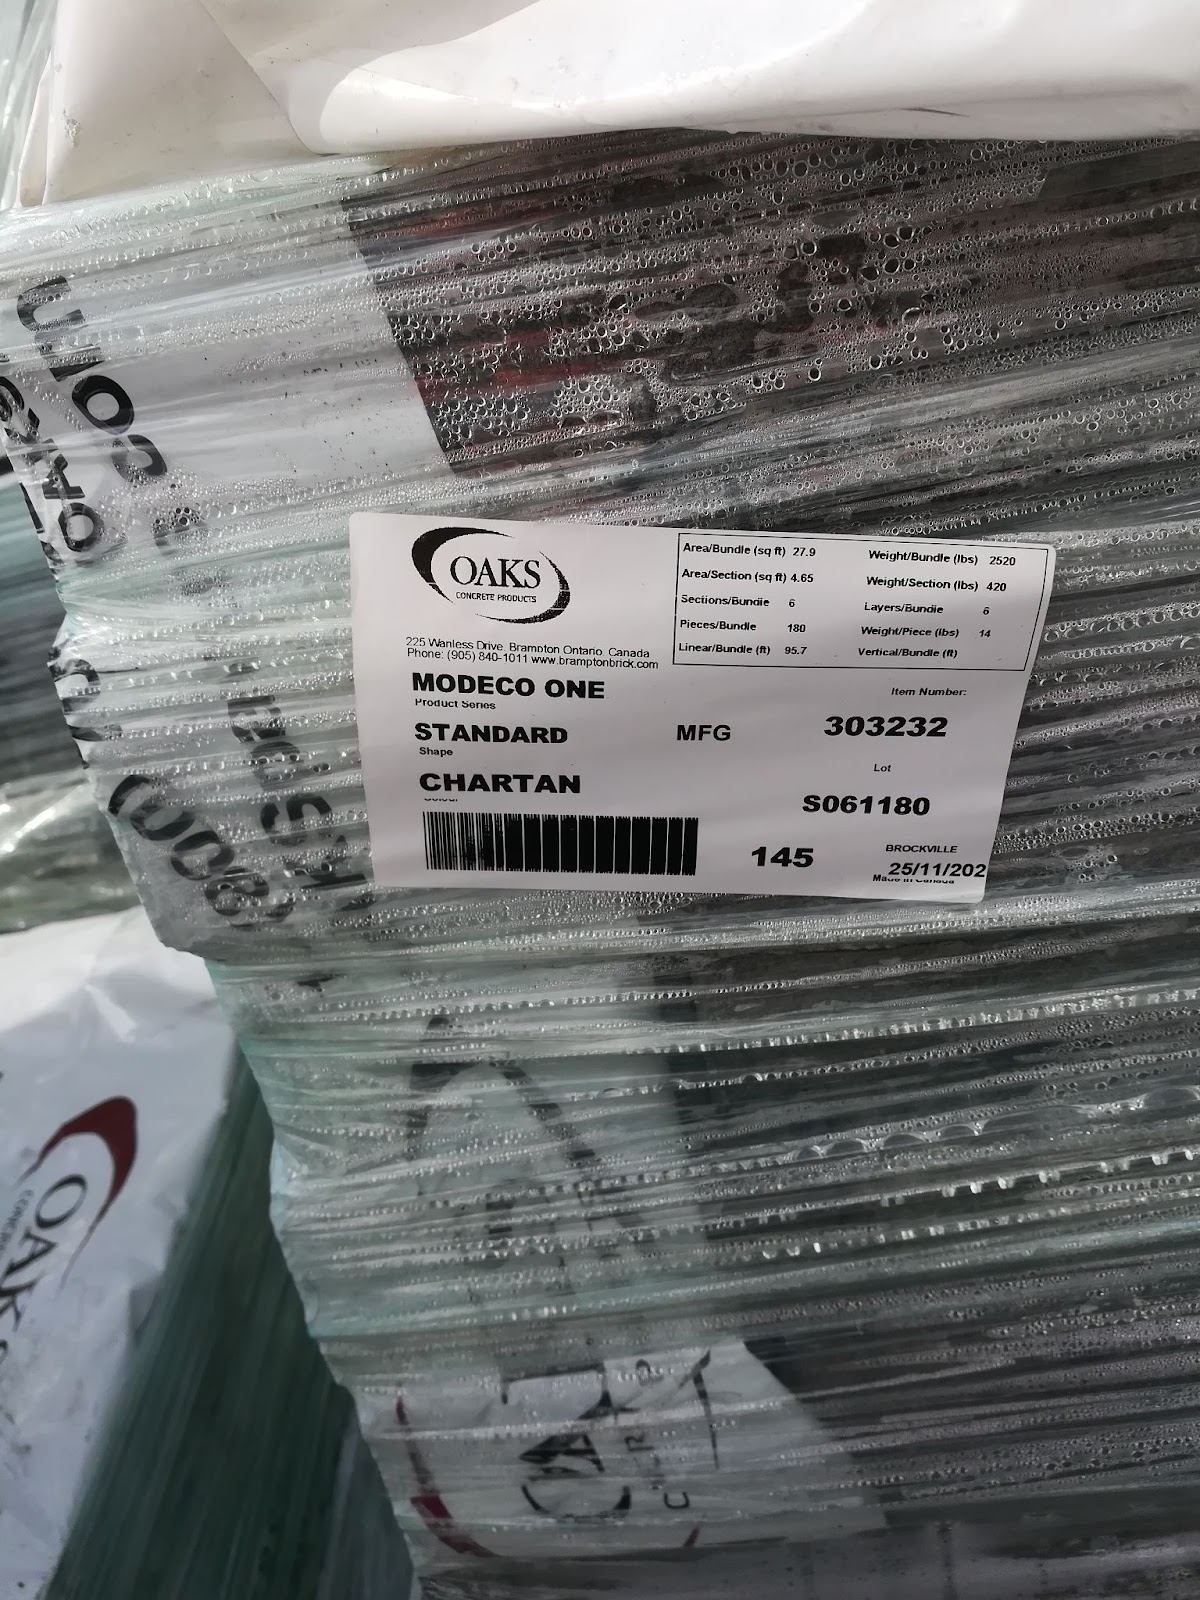
The color of the garden locks should match the existing flower beds. To this end, I went to several surrounding shopping malls, repeatedly considered and compared, and finally determined the size and color of the garden locks. Relatively speaking, Beaver Valley Stone located in Woodbine & 407 has a larger scale, complete varieties, and more affordable prices.
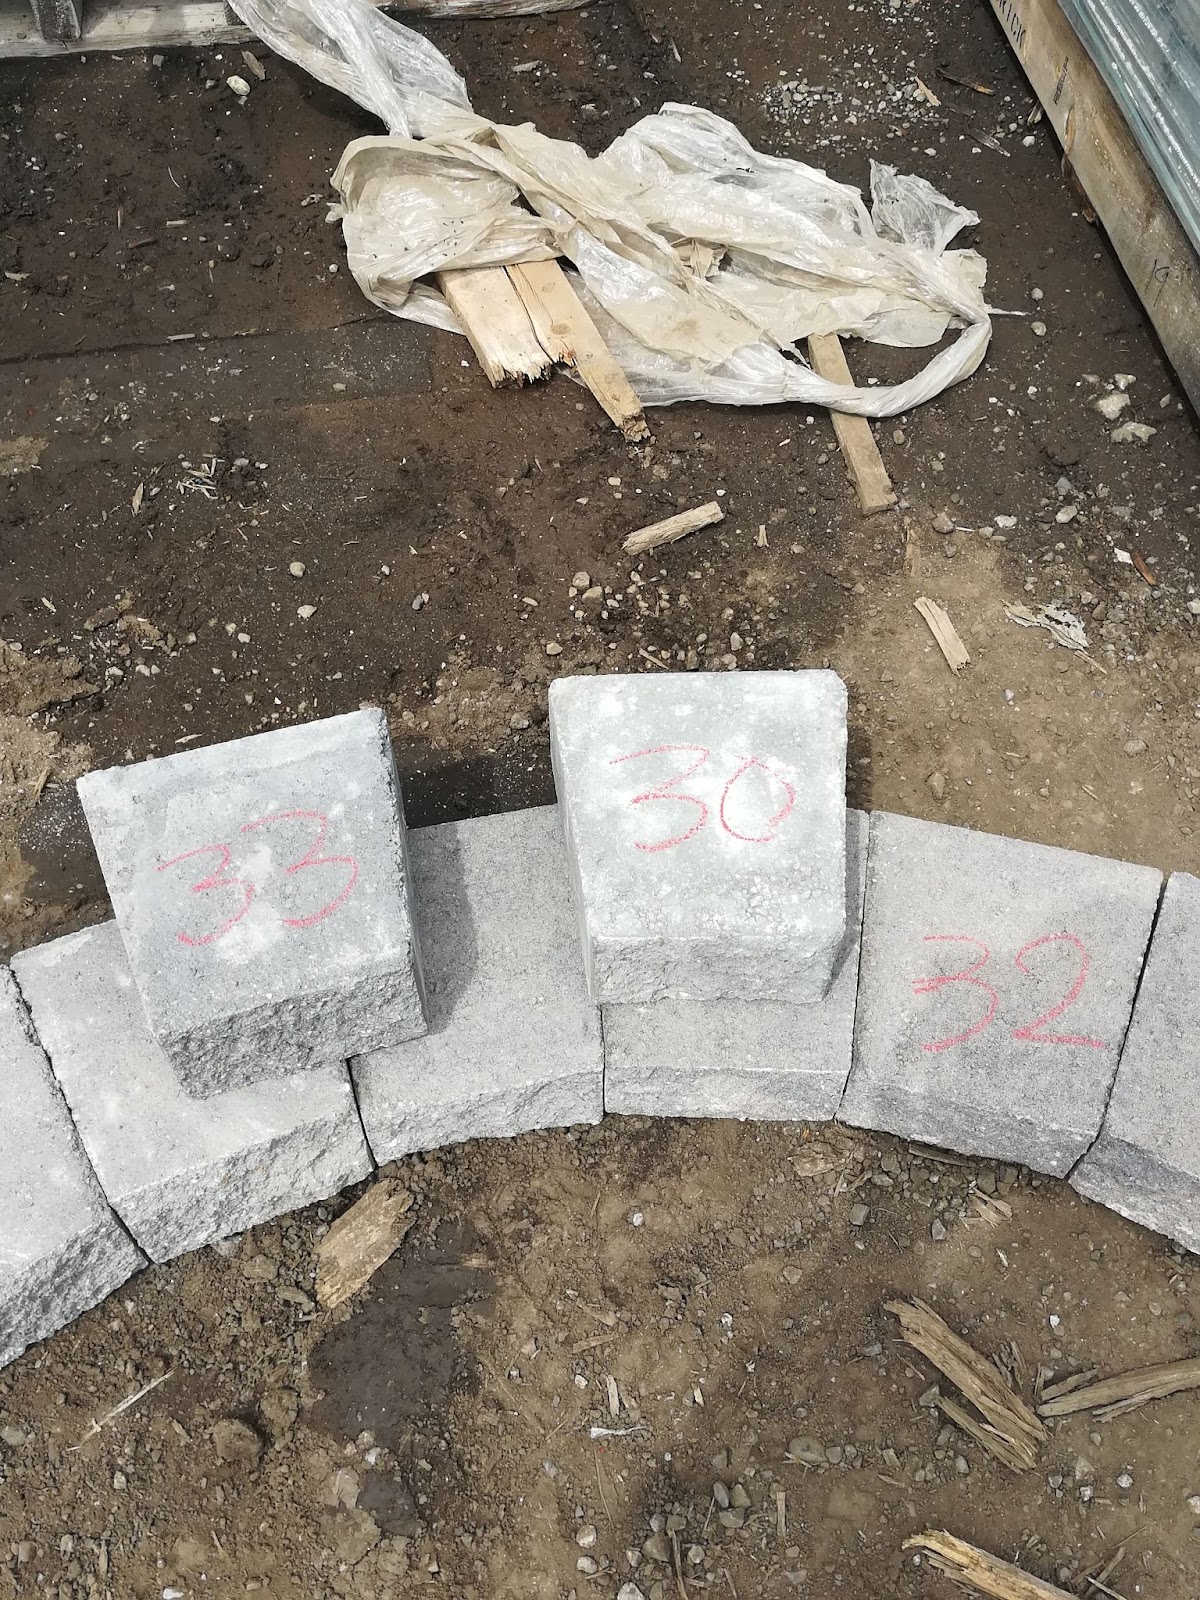
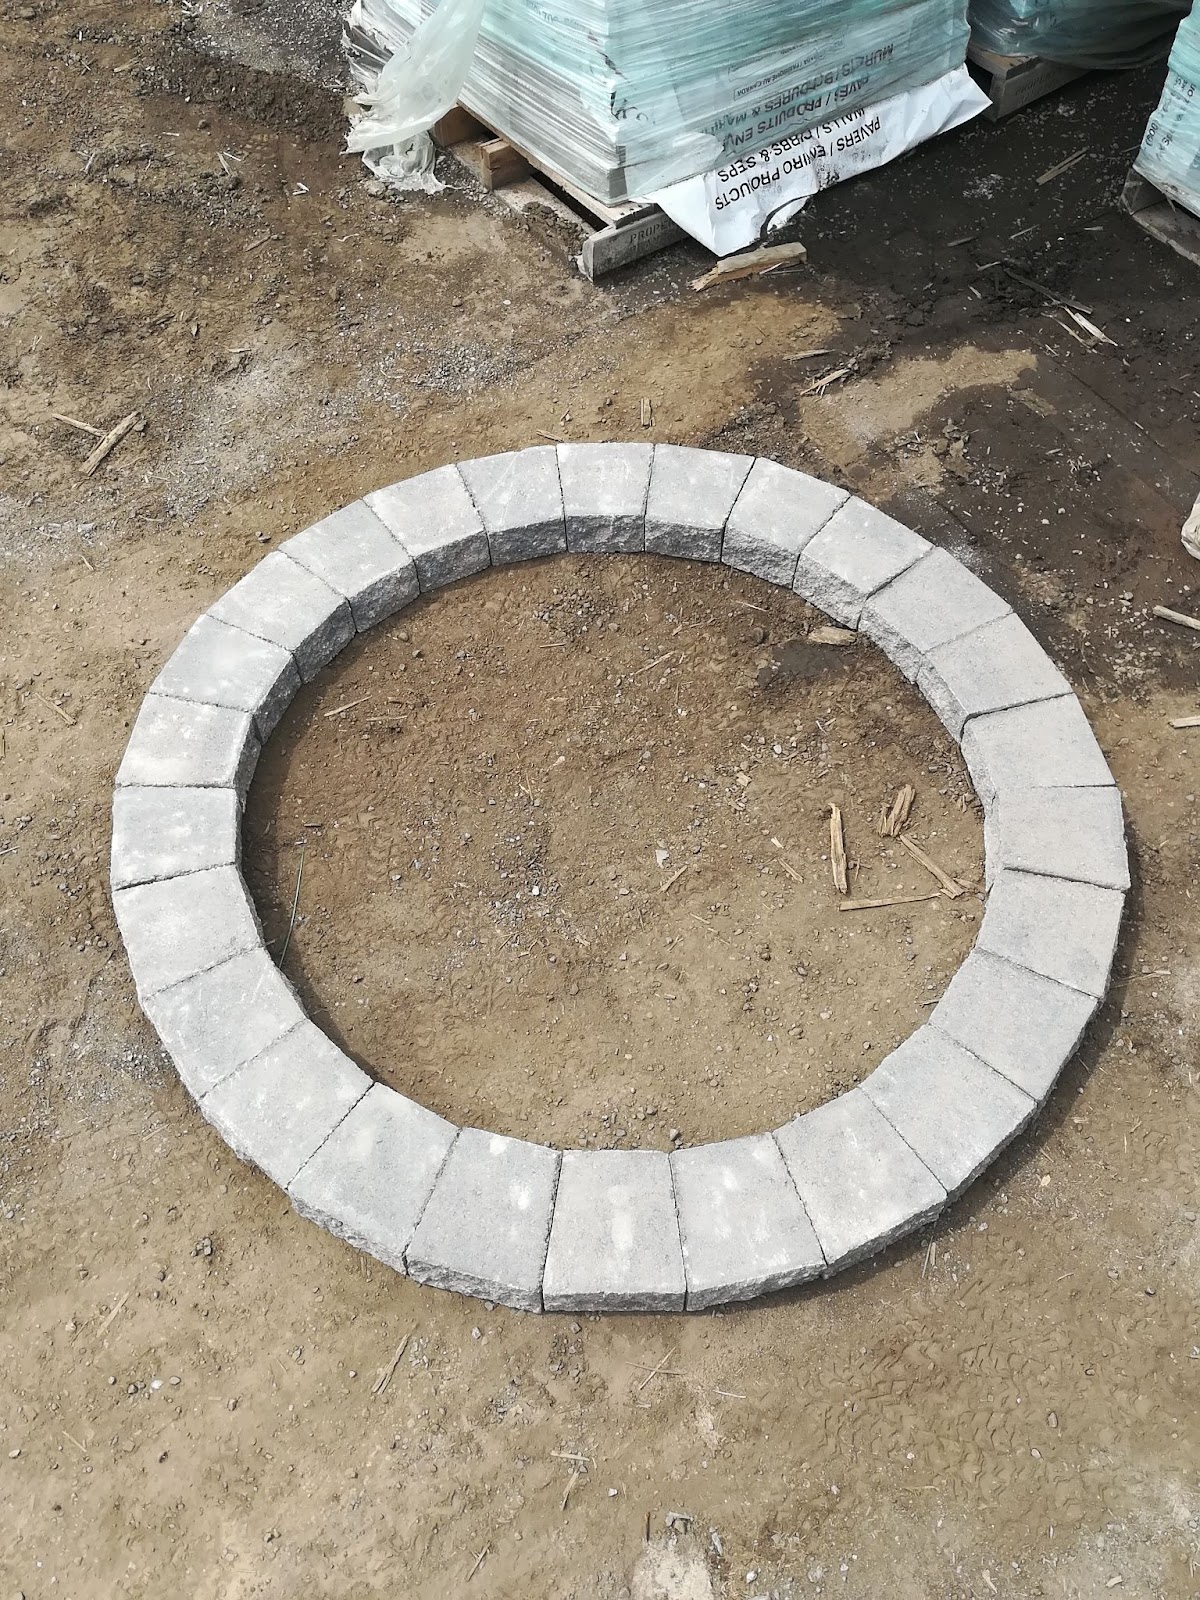
The wedge blocks are wide at the top and narrow at the bottom. A total of 52 pieces, a bag of gravel and a tube of glue. On this day, I used my RAV4 to pull the materials and officially started working.
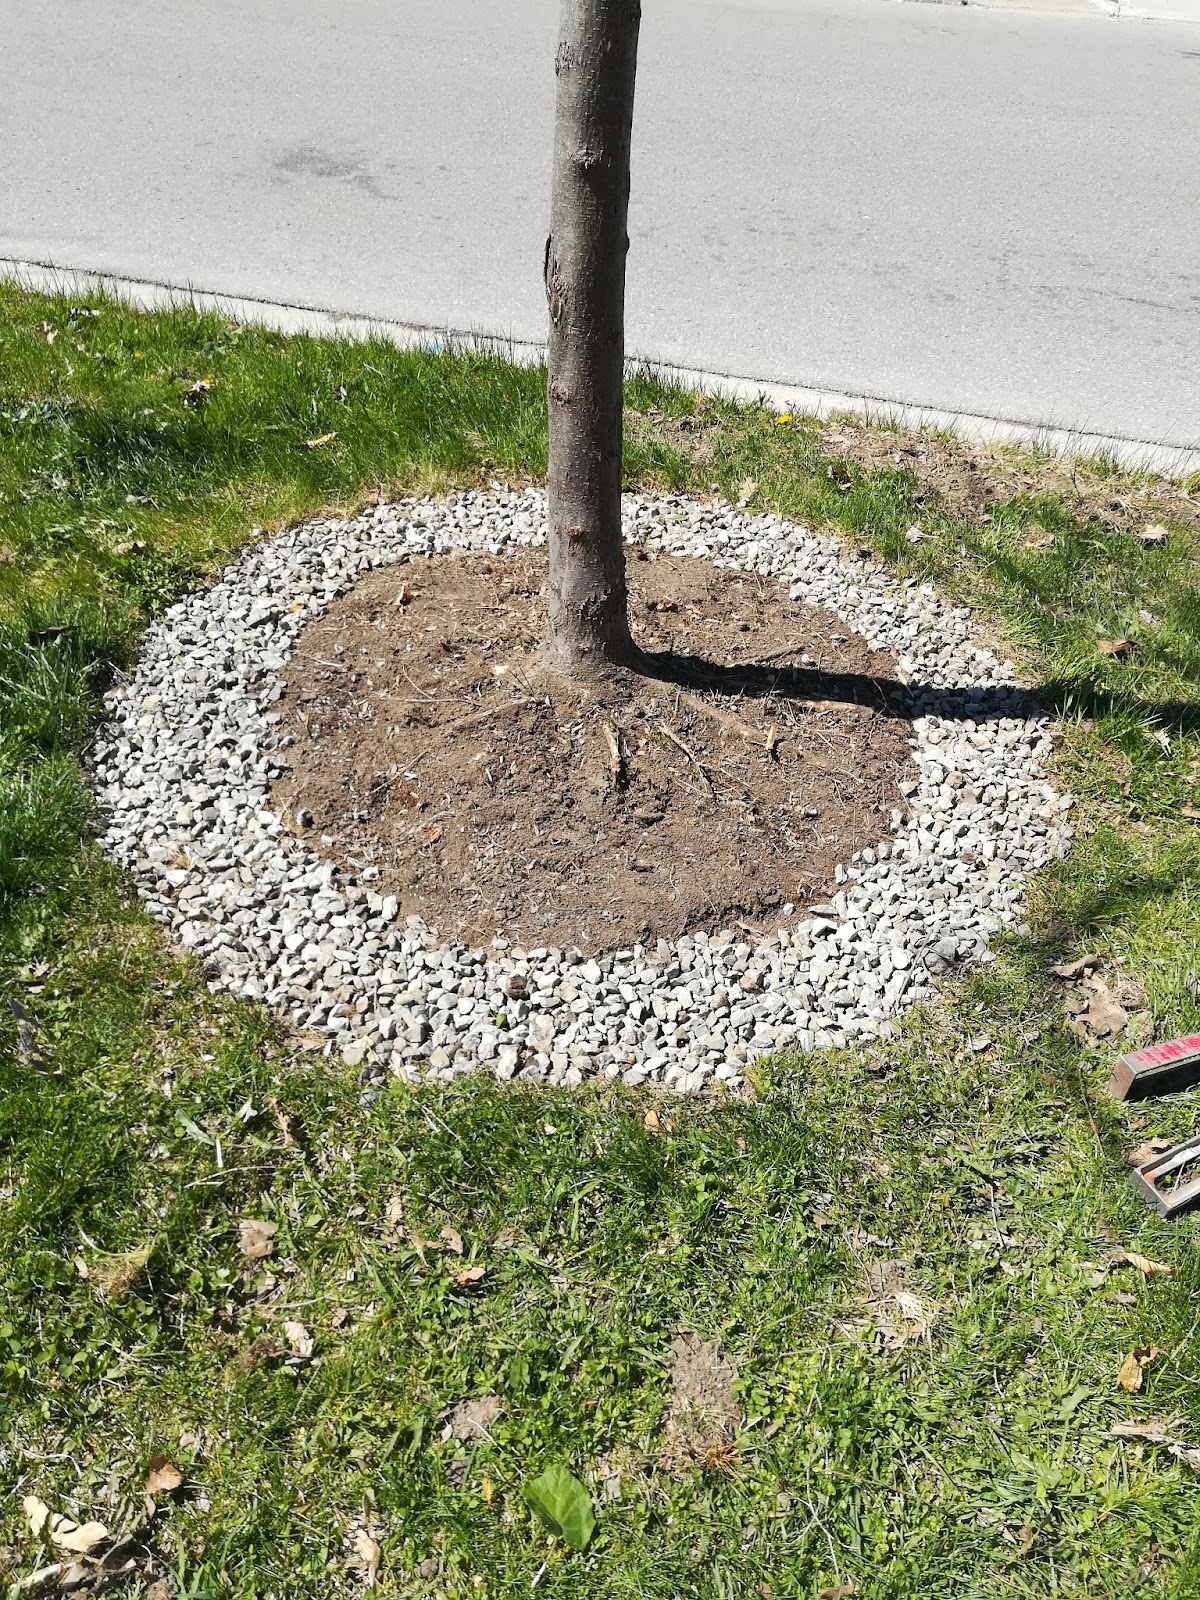
First, lay out and draw lines. It’s my job, I know it.
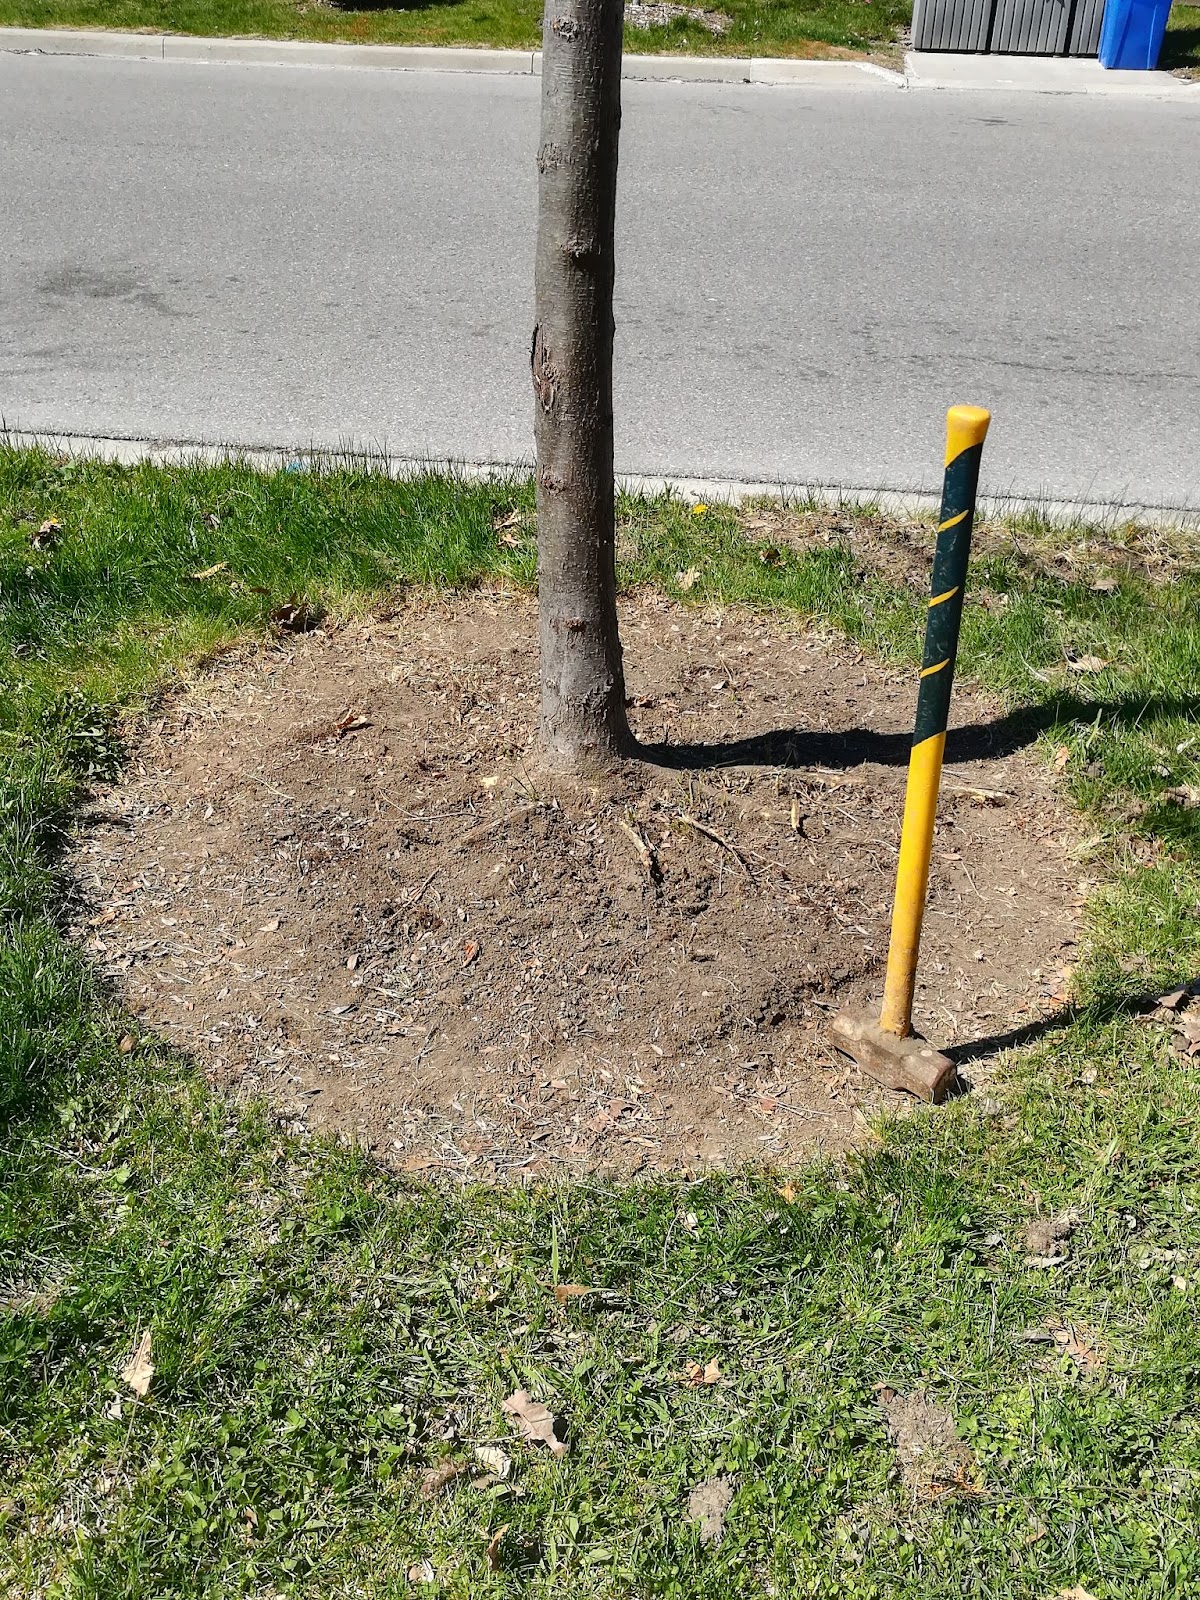
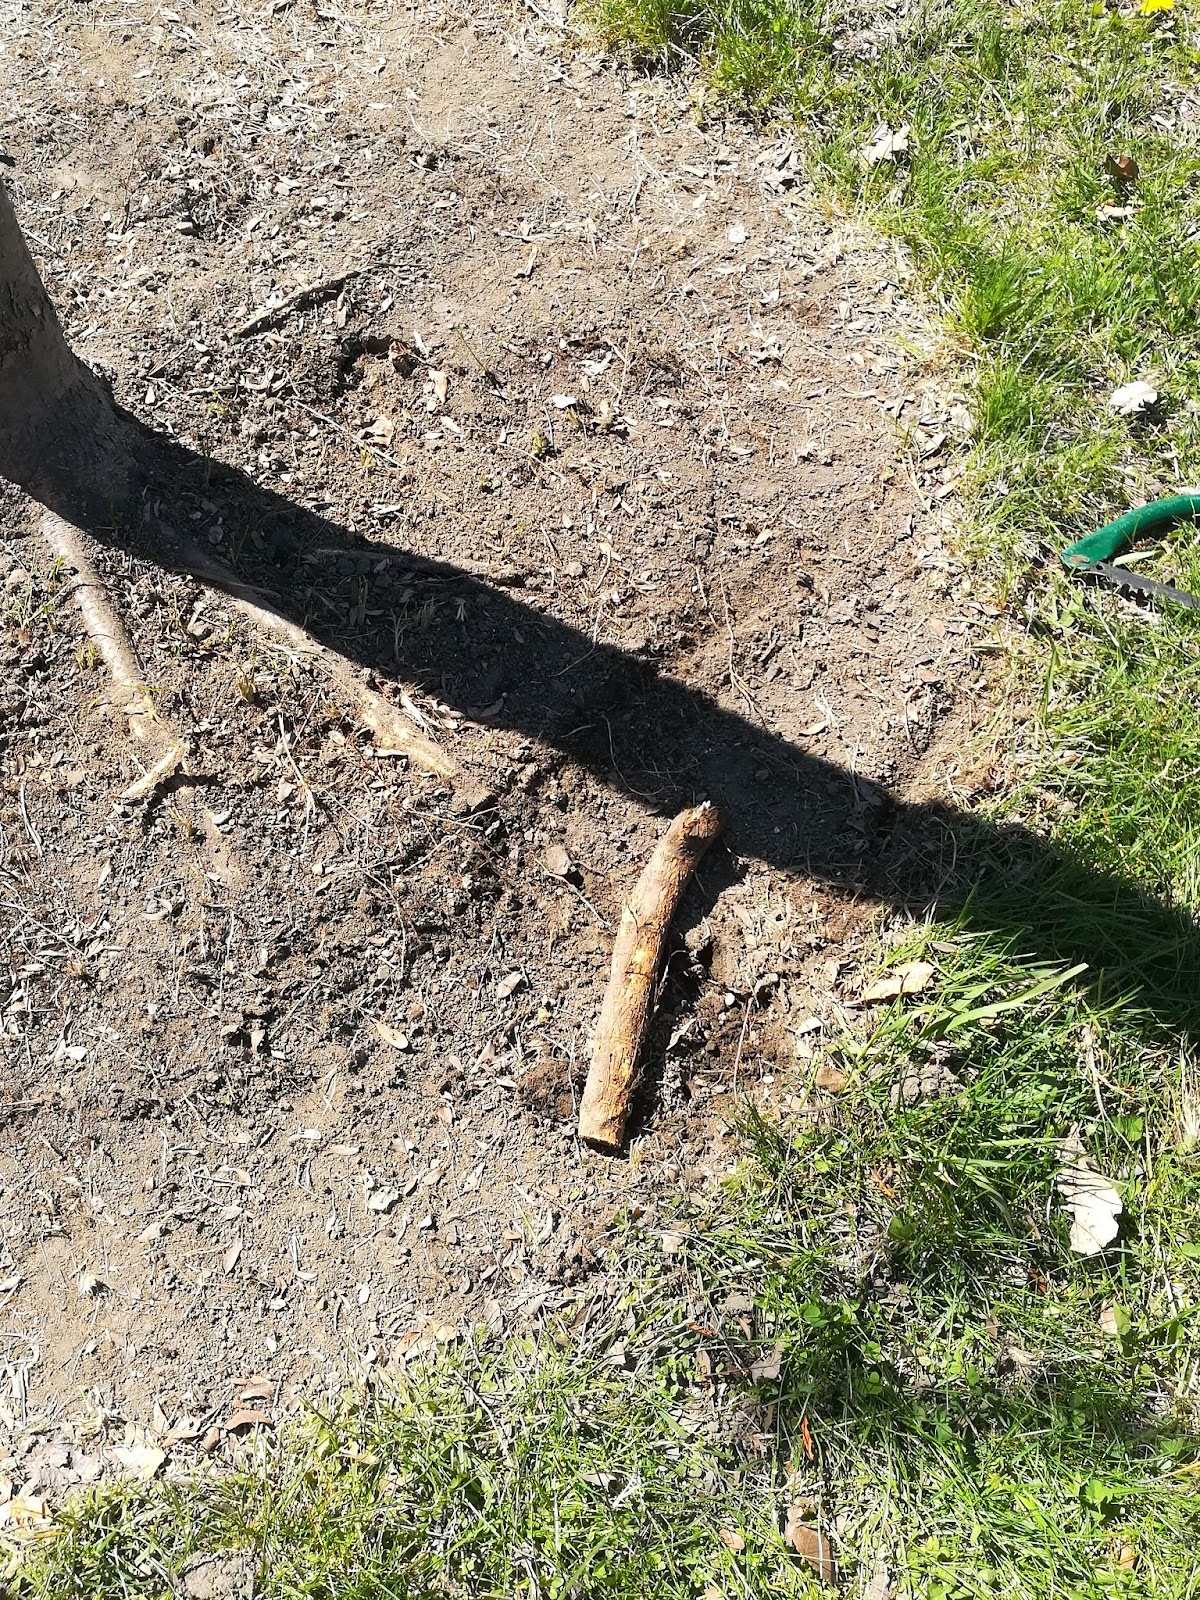
Then, remove the weeds and dig down another two inches. If you encounter protruding tree roots, be sure to cut them off, otherwise the blocks will arch up in the future, which is very unsightly.
Use existing tools to tamp down to ensure the foundation is strong, stable and does not deform.
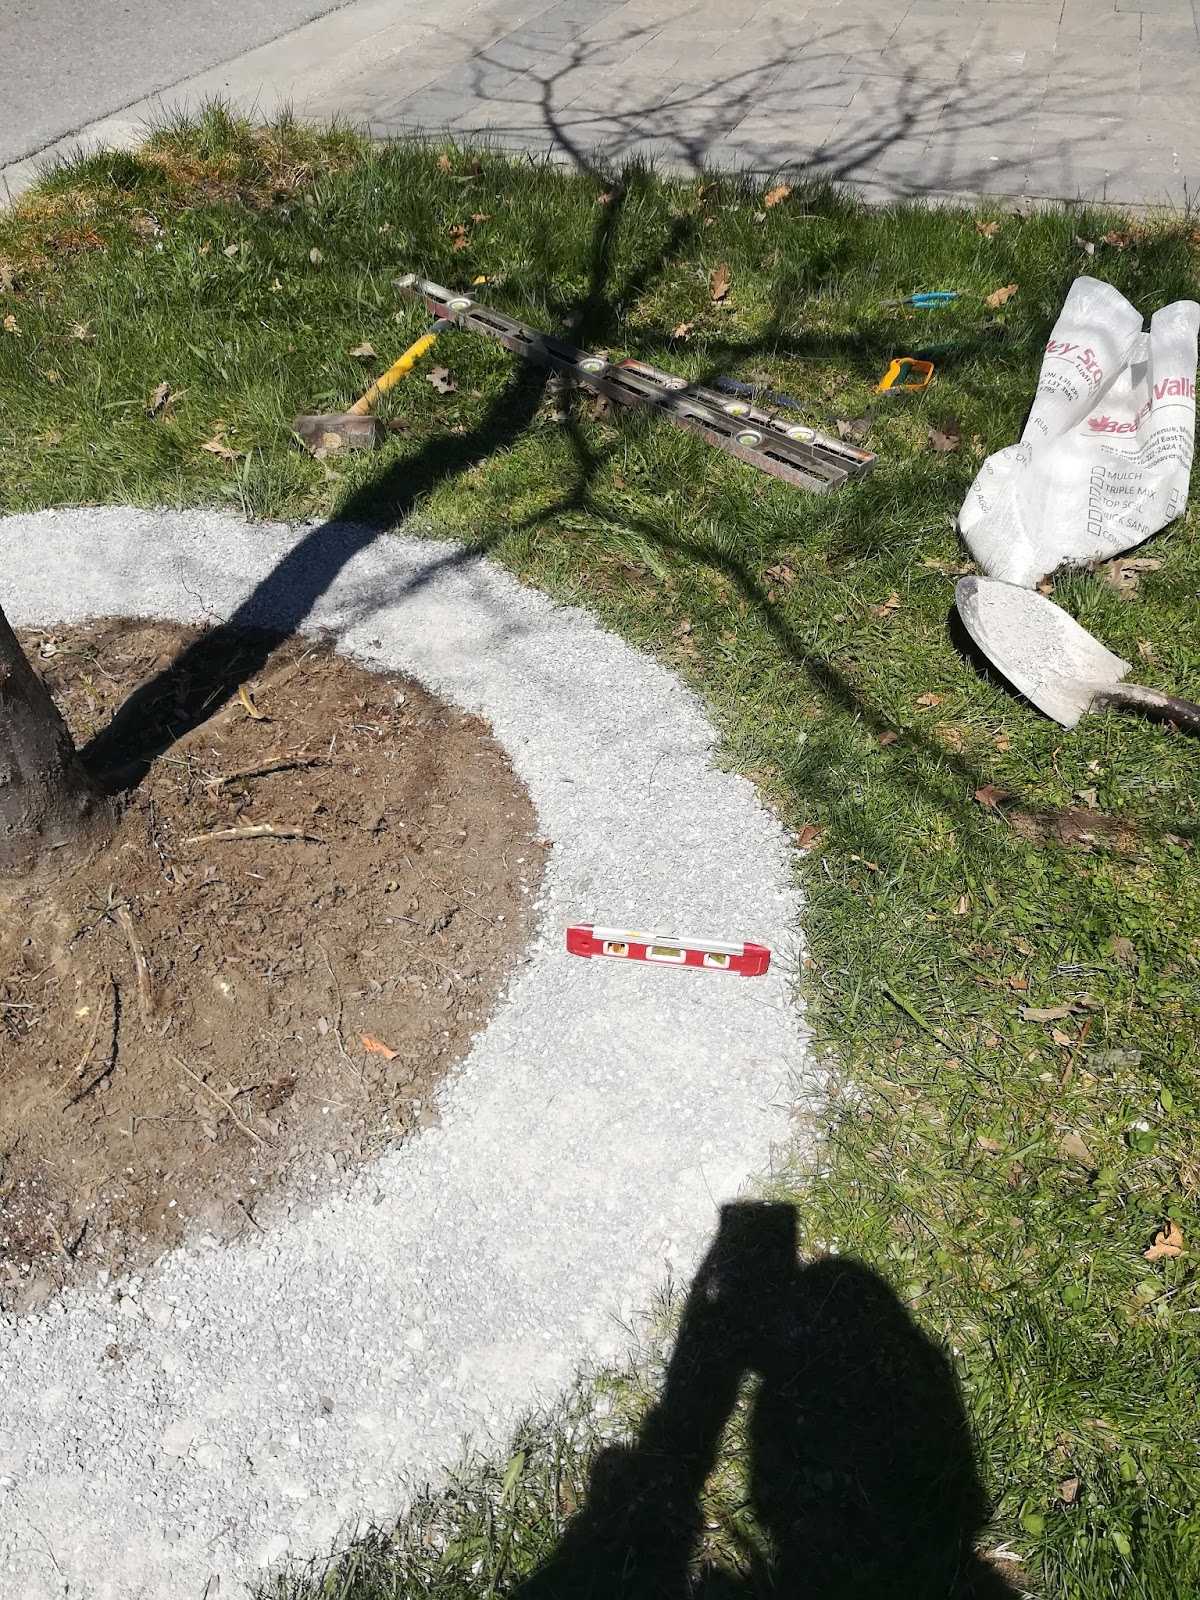
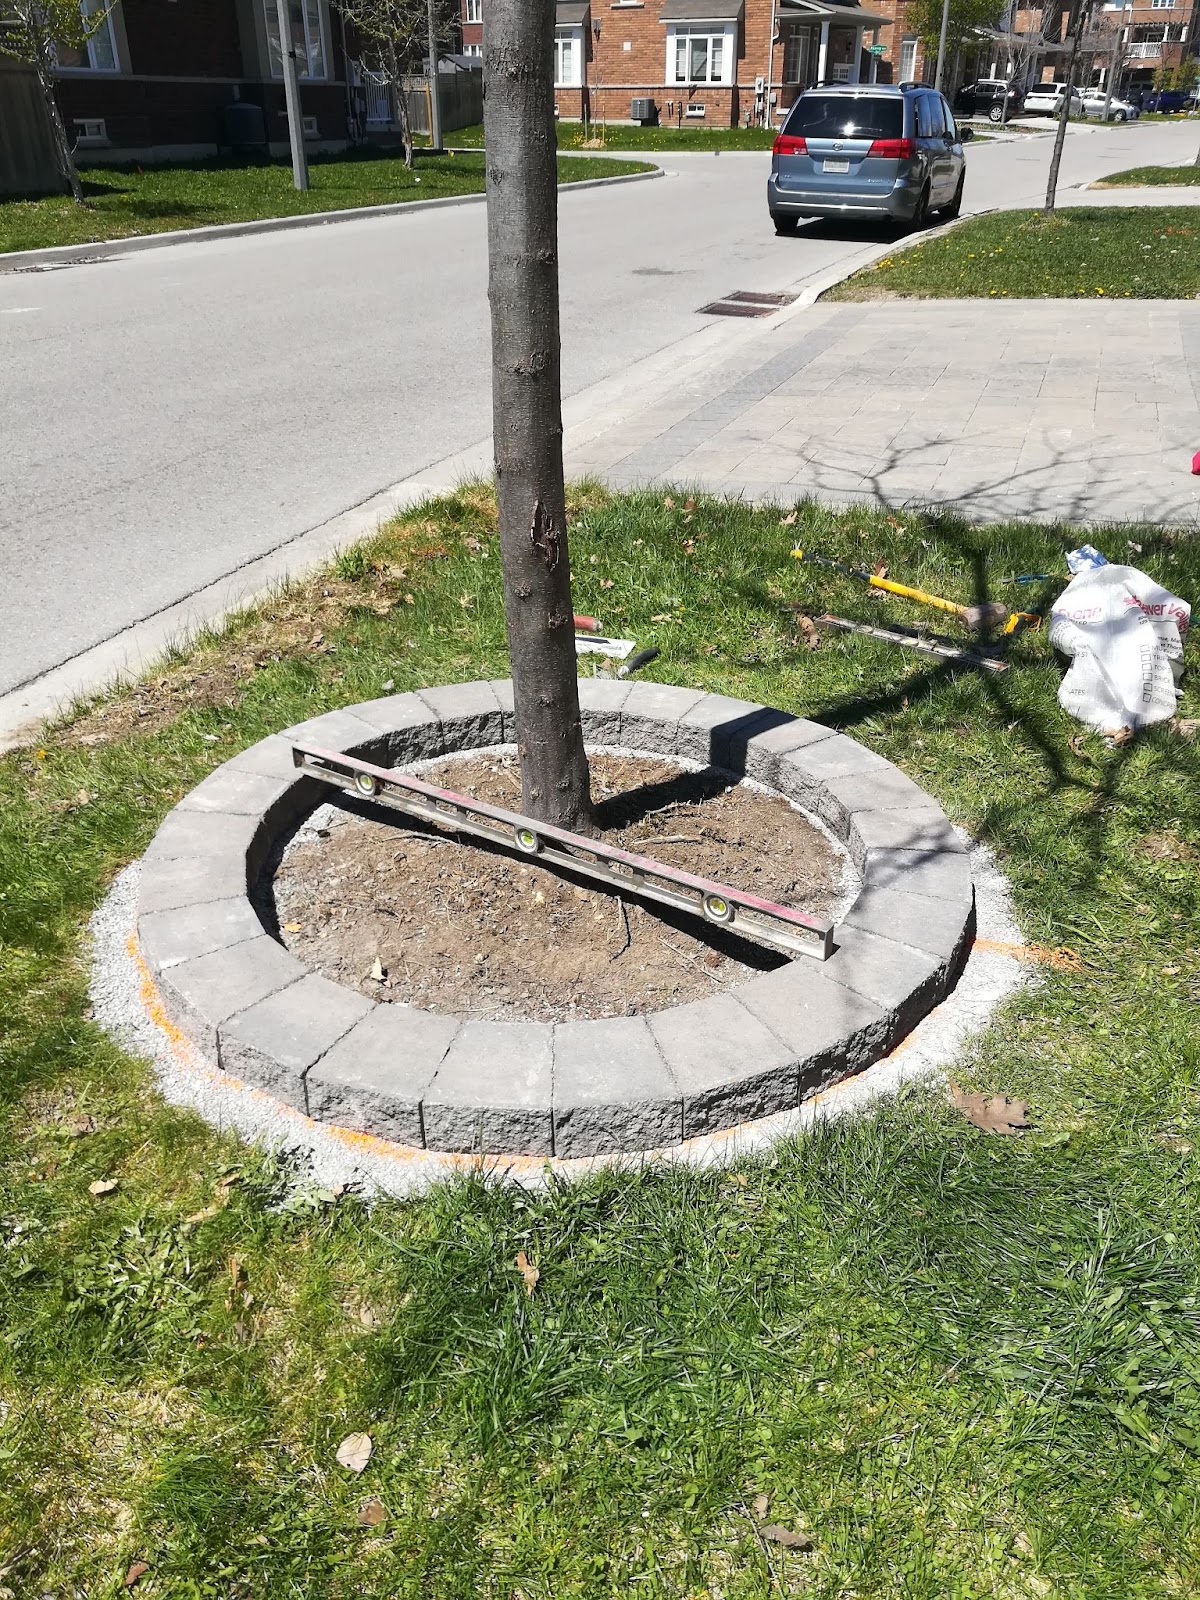
Depending on the width of the brick, expand the sides two inches and fill with gravel and compact it. Check with a level to make sure it’s level.
If you encounter some animal shells, etc., you can keep them and use them as fertilizer later.


I laid out it again and made sure it was accurate. Start stacking the blocks along the lines, aligned left and right. When I get to bumpy spots, I can use a rubber mallet to smooth them out. After I finished the first layer, I checked with a level to make sure it was level.
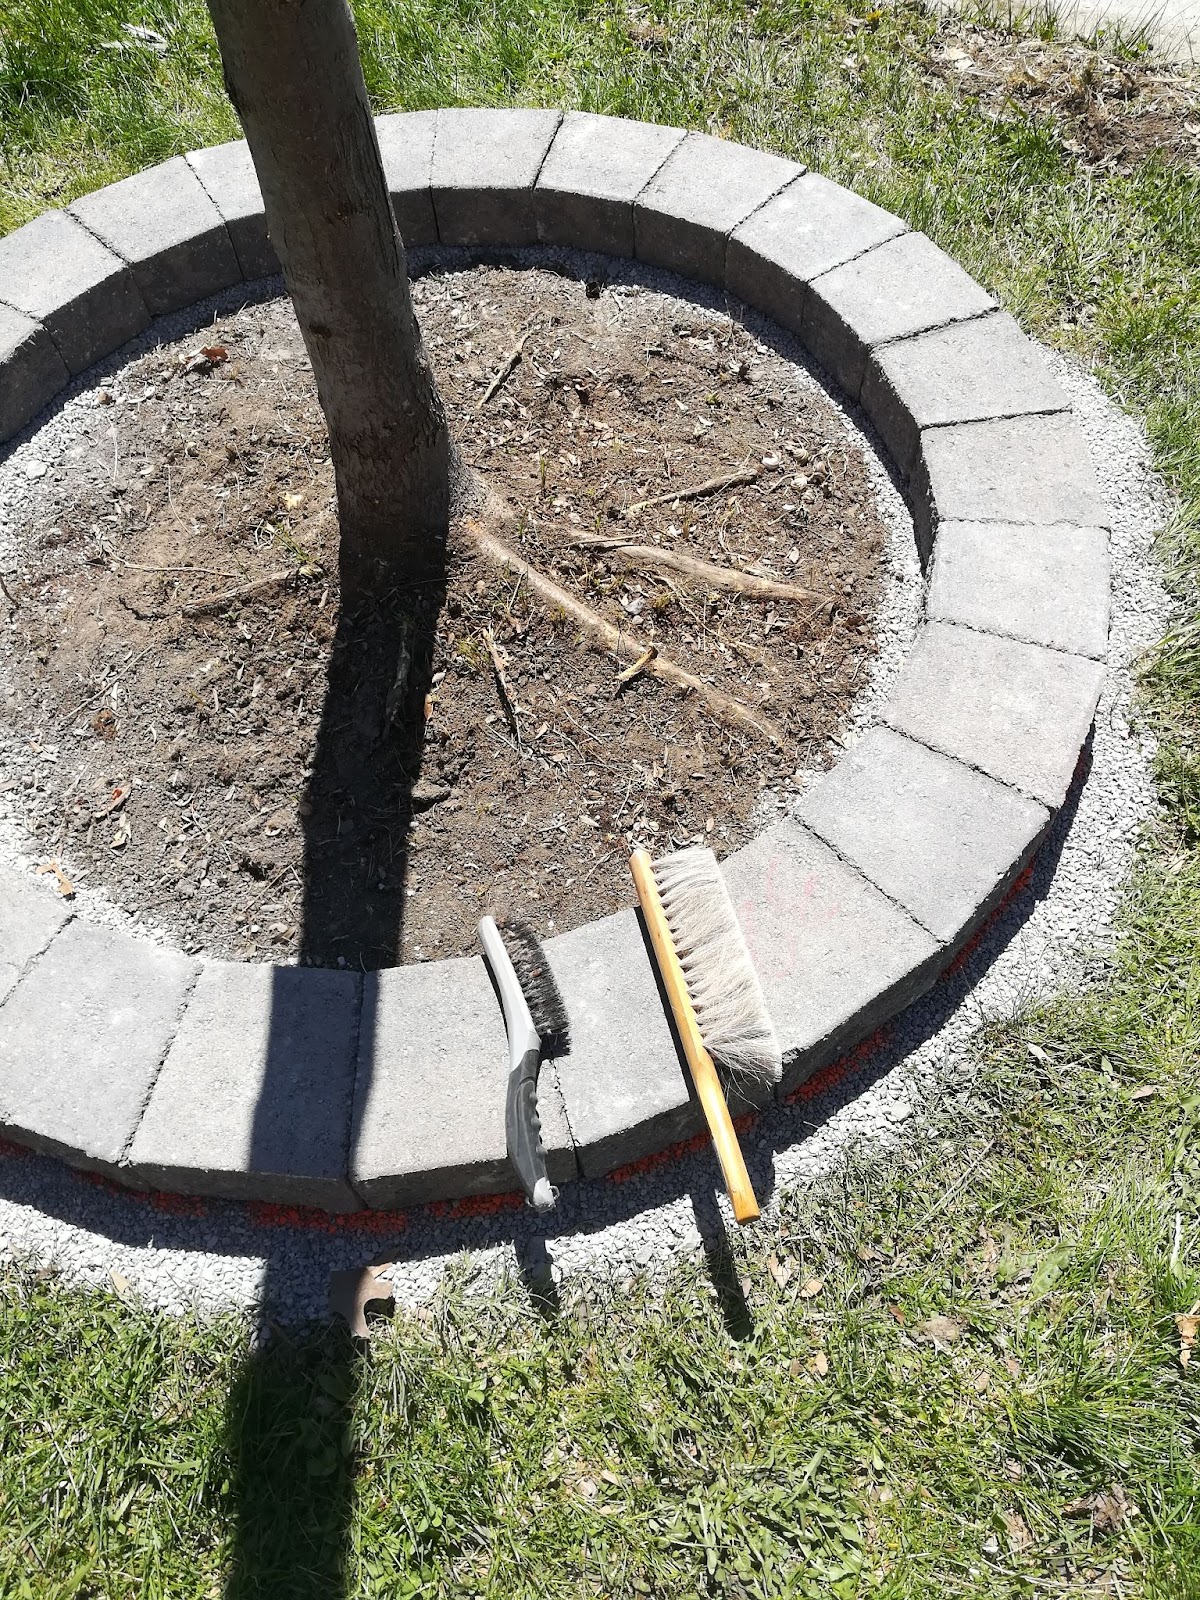
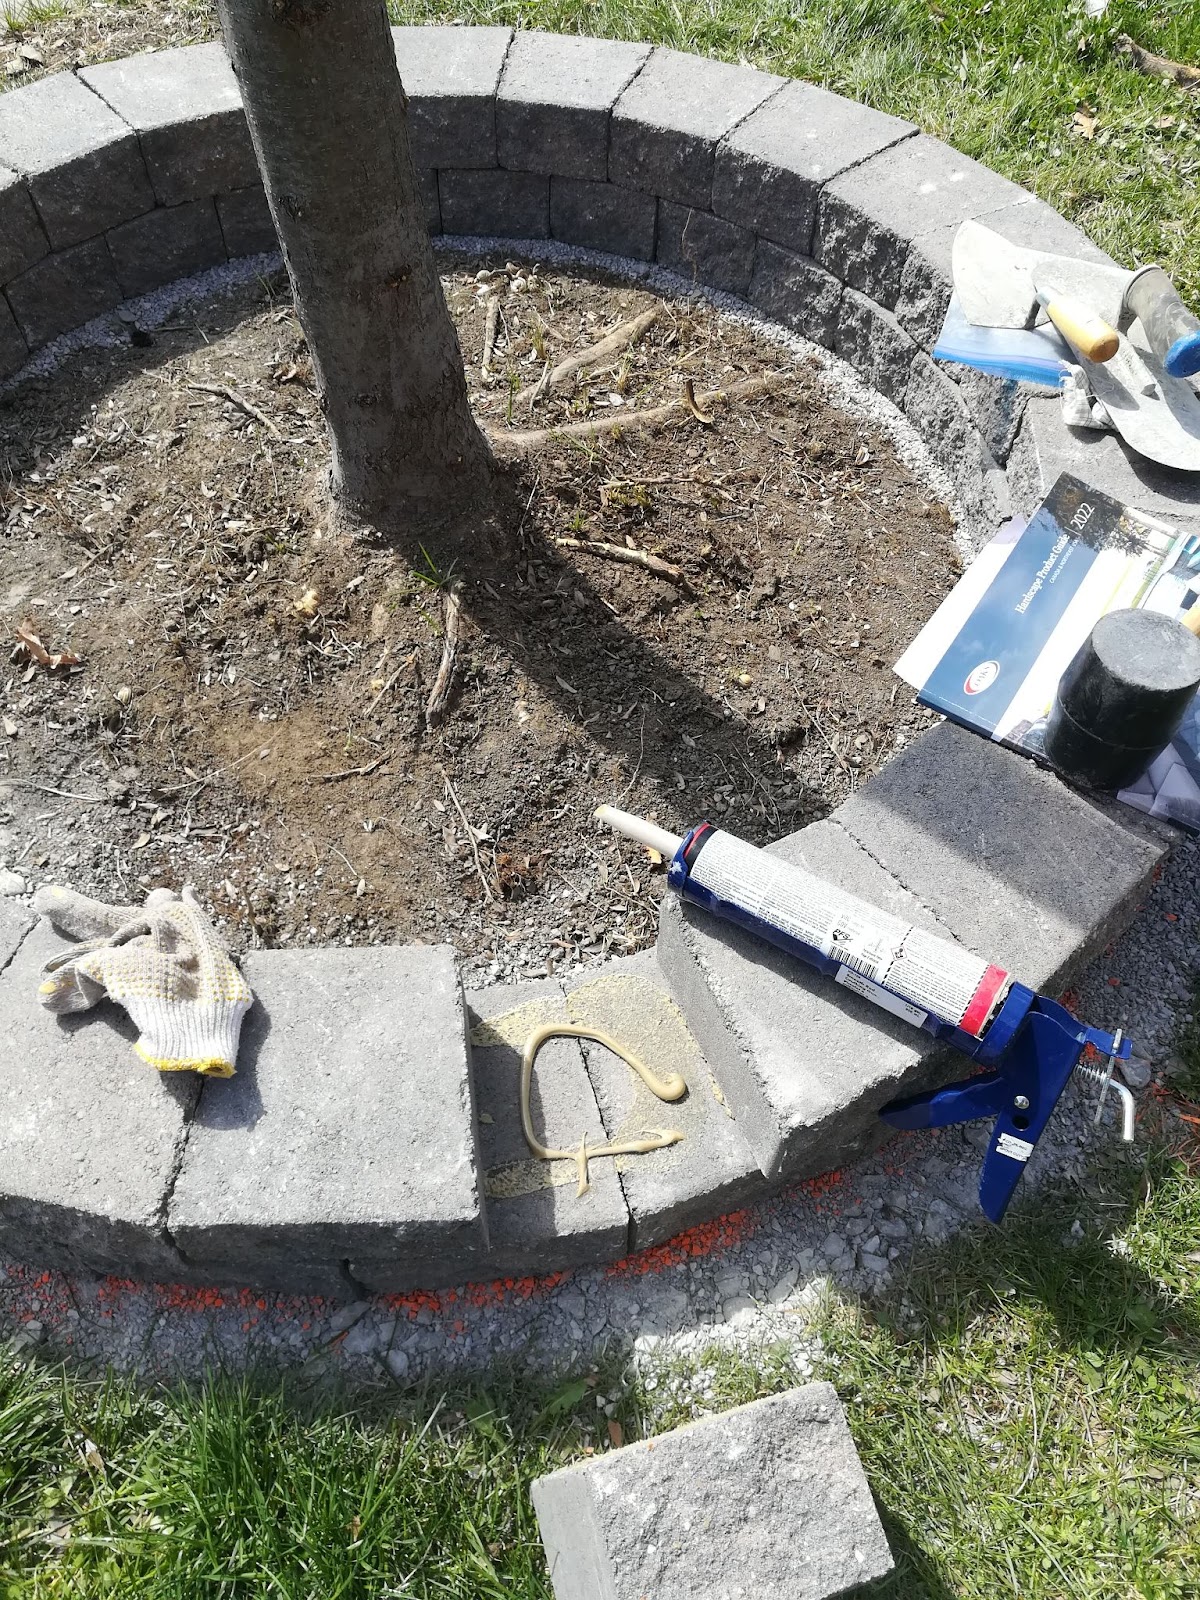
Then, use a wire brush or brush to clean the surface of the block in preparation for the next step of laying glue. Align the staggered seams of the second layer blocks and check with a level. Once everything is correct, squeeze on the glue and press each block. At this point, the main body of the flower bed is completed.
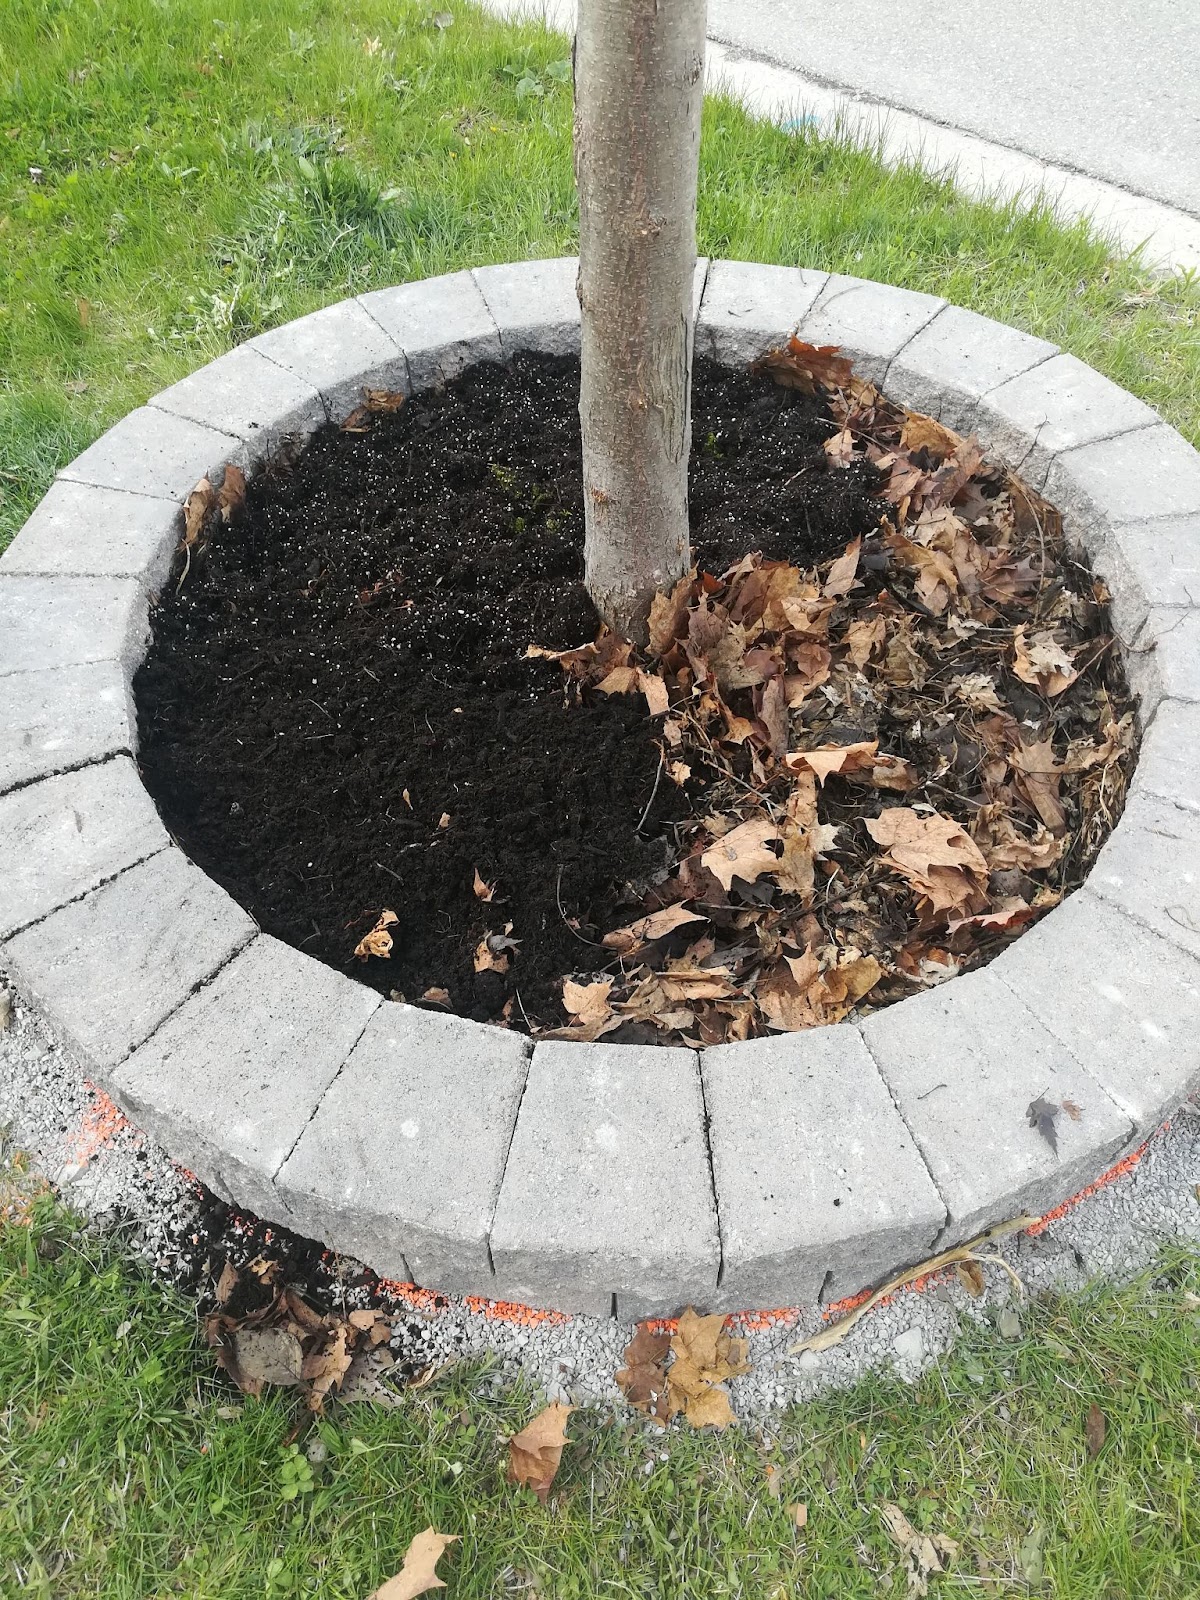
To let the glue dry, I waited until the next day before filling it with soil. Some dry leaves are added to the lower layer as compost. Fill with store-bought garden soil and compact slightly. The cost of the flower bed was $400, not including labor of course.
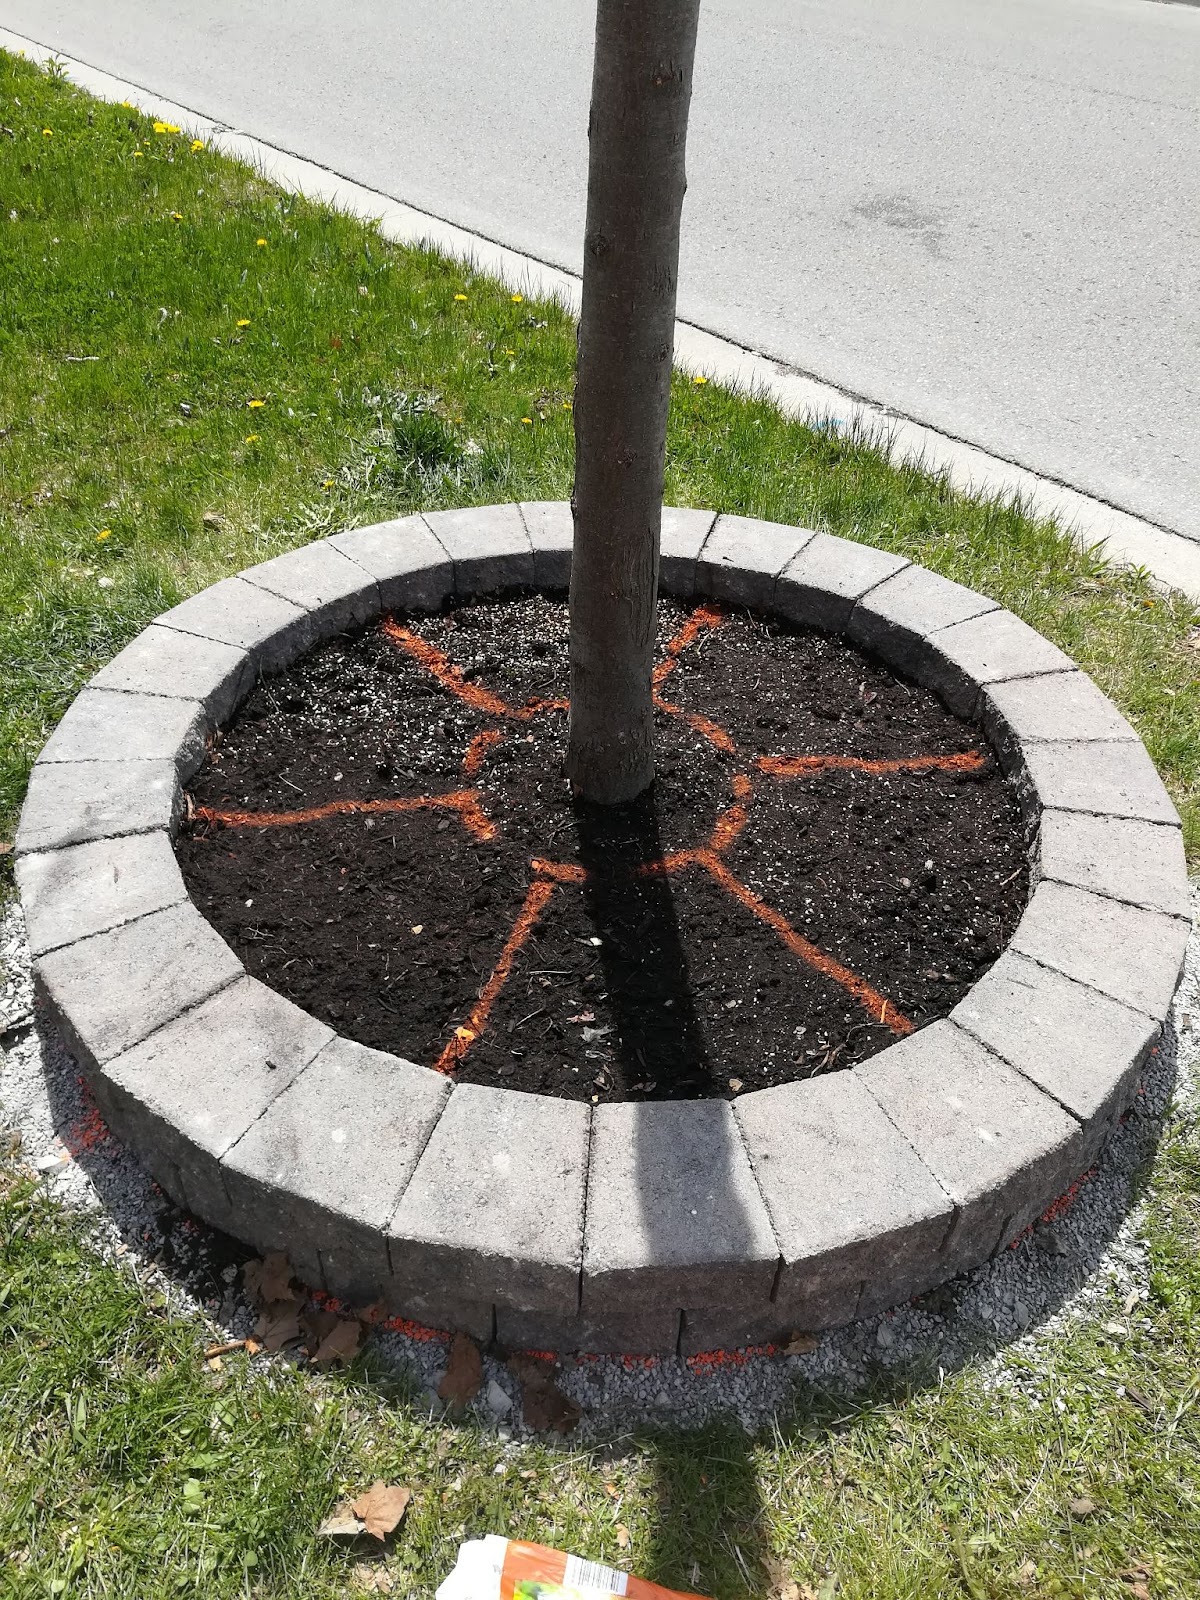
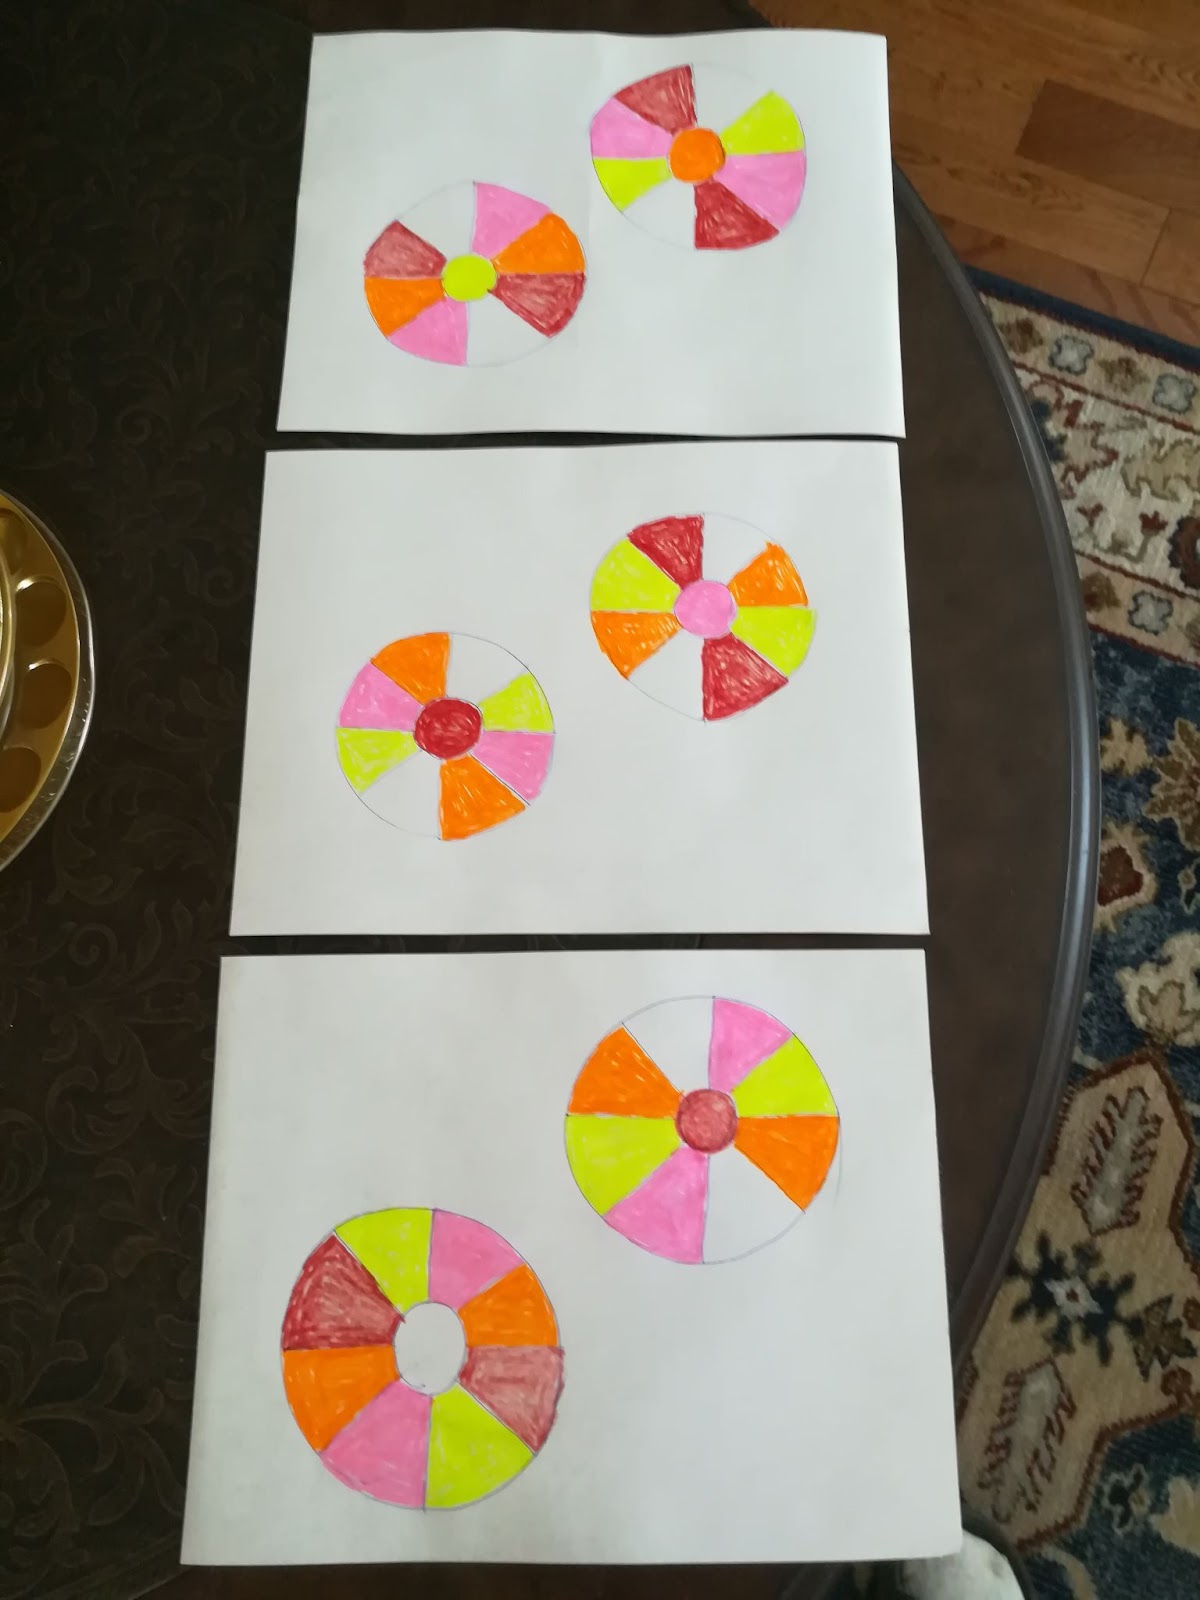
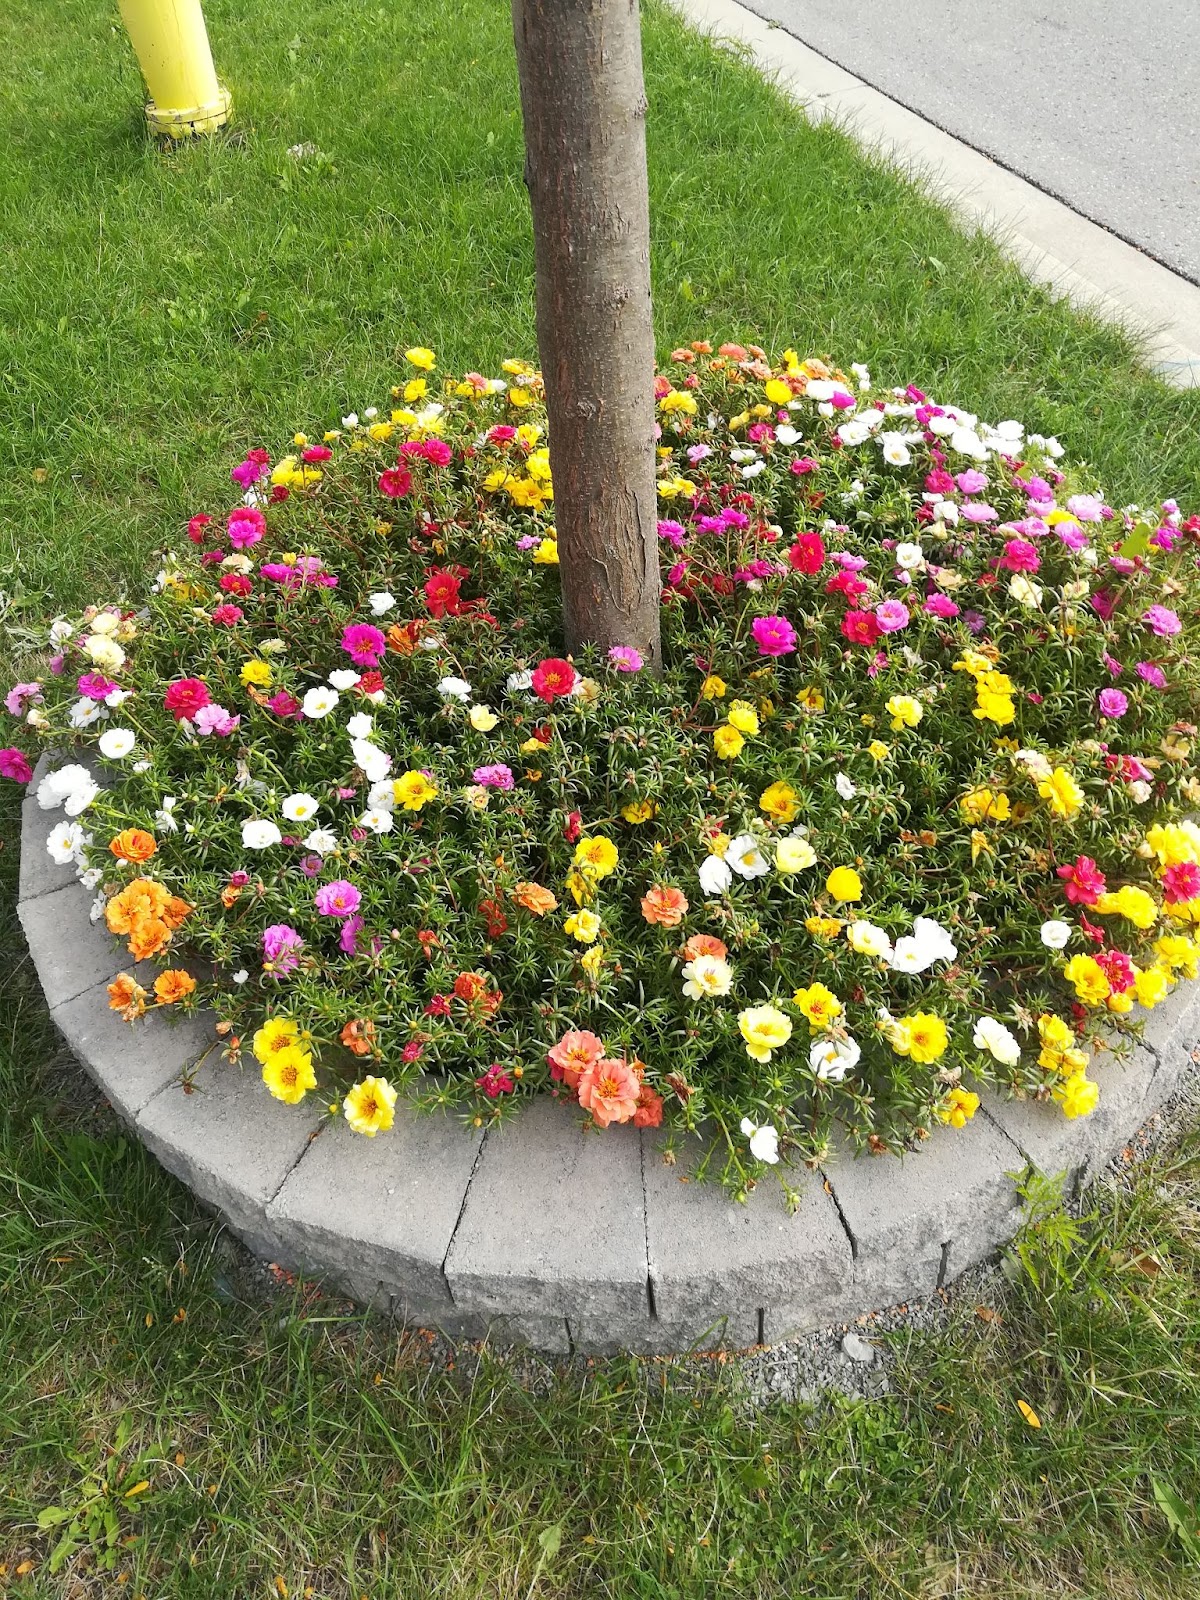
I originally designed the flower bed pattern with the intention of making floral pinwheels. Sprinkle sunflower seeds according to design. But later the seedlings were not ideal and had to be replaced with the current colorful seedlings. In order to have flowers in spring, summer and autumn, hyacinths and crocuses that bloom in early spring are specially planted.
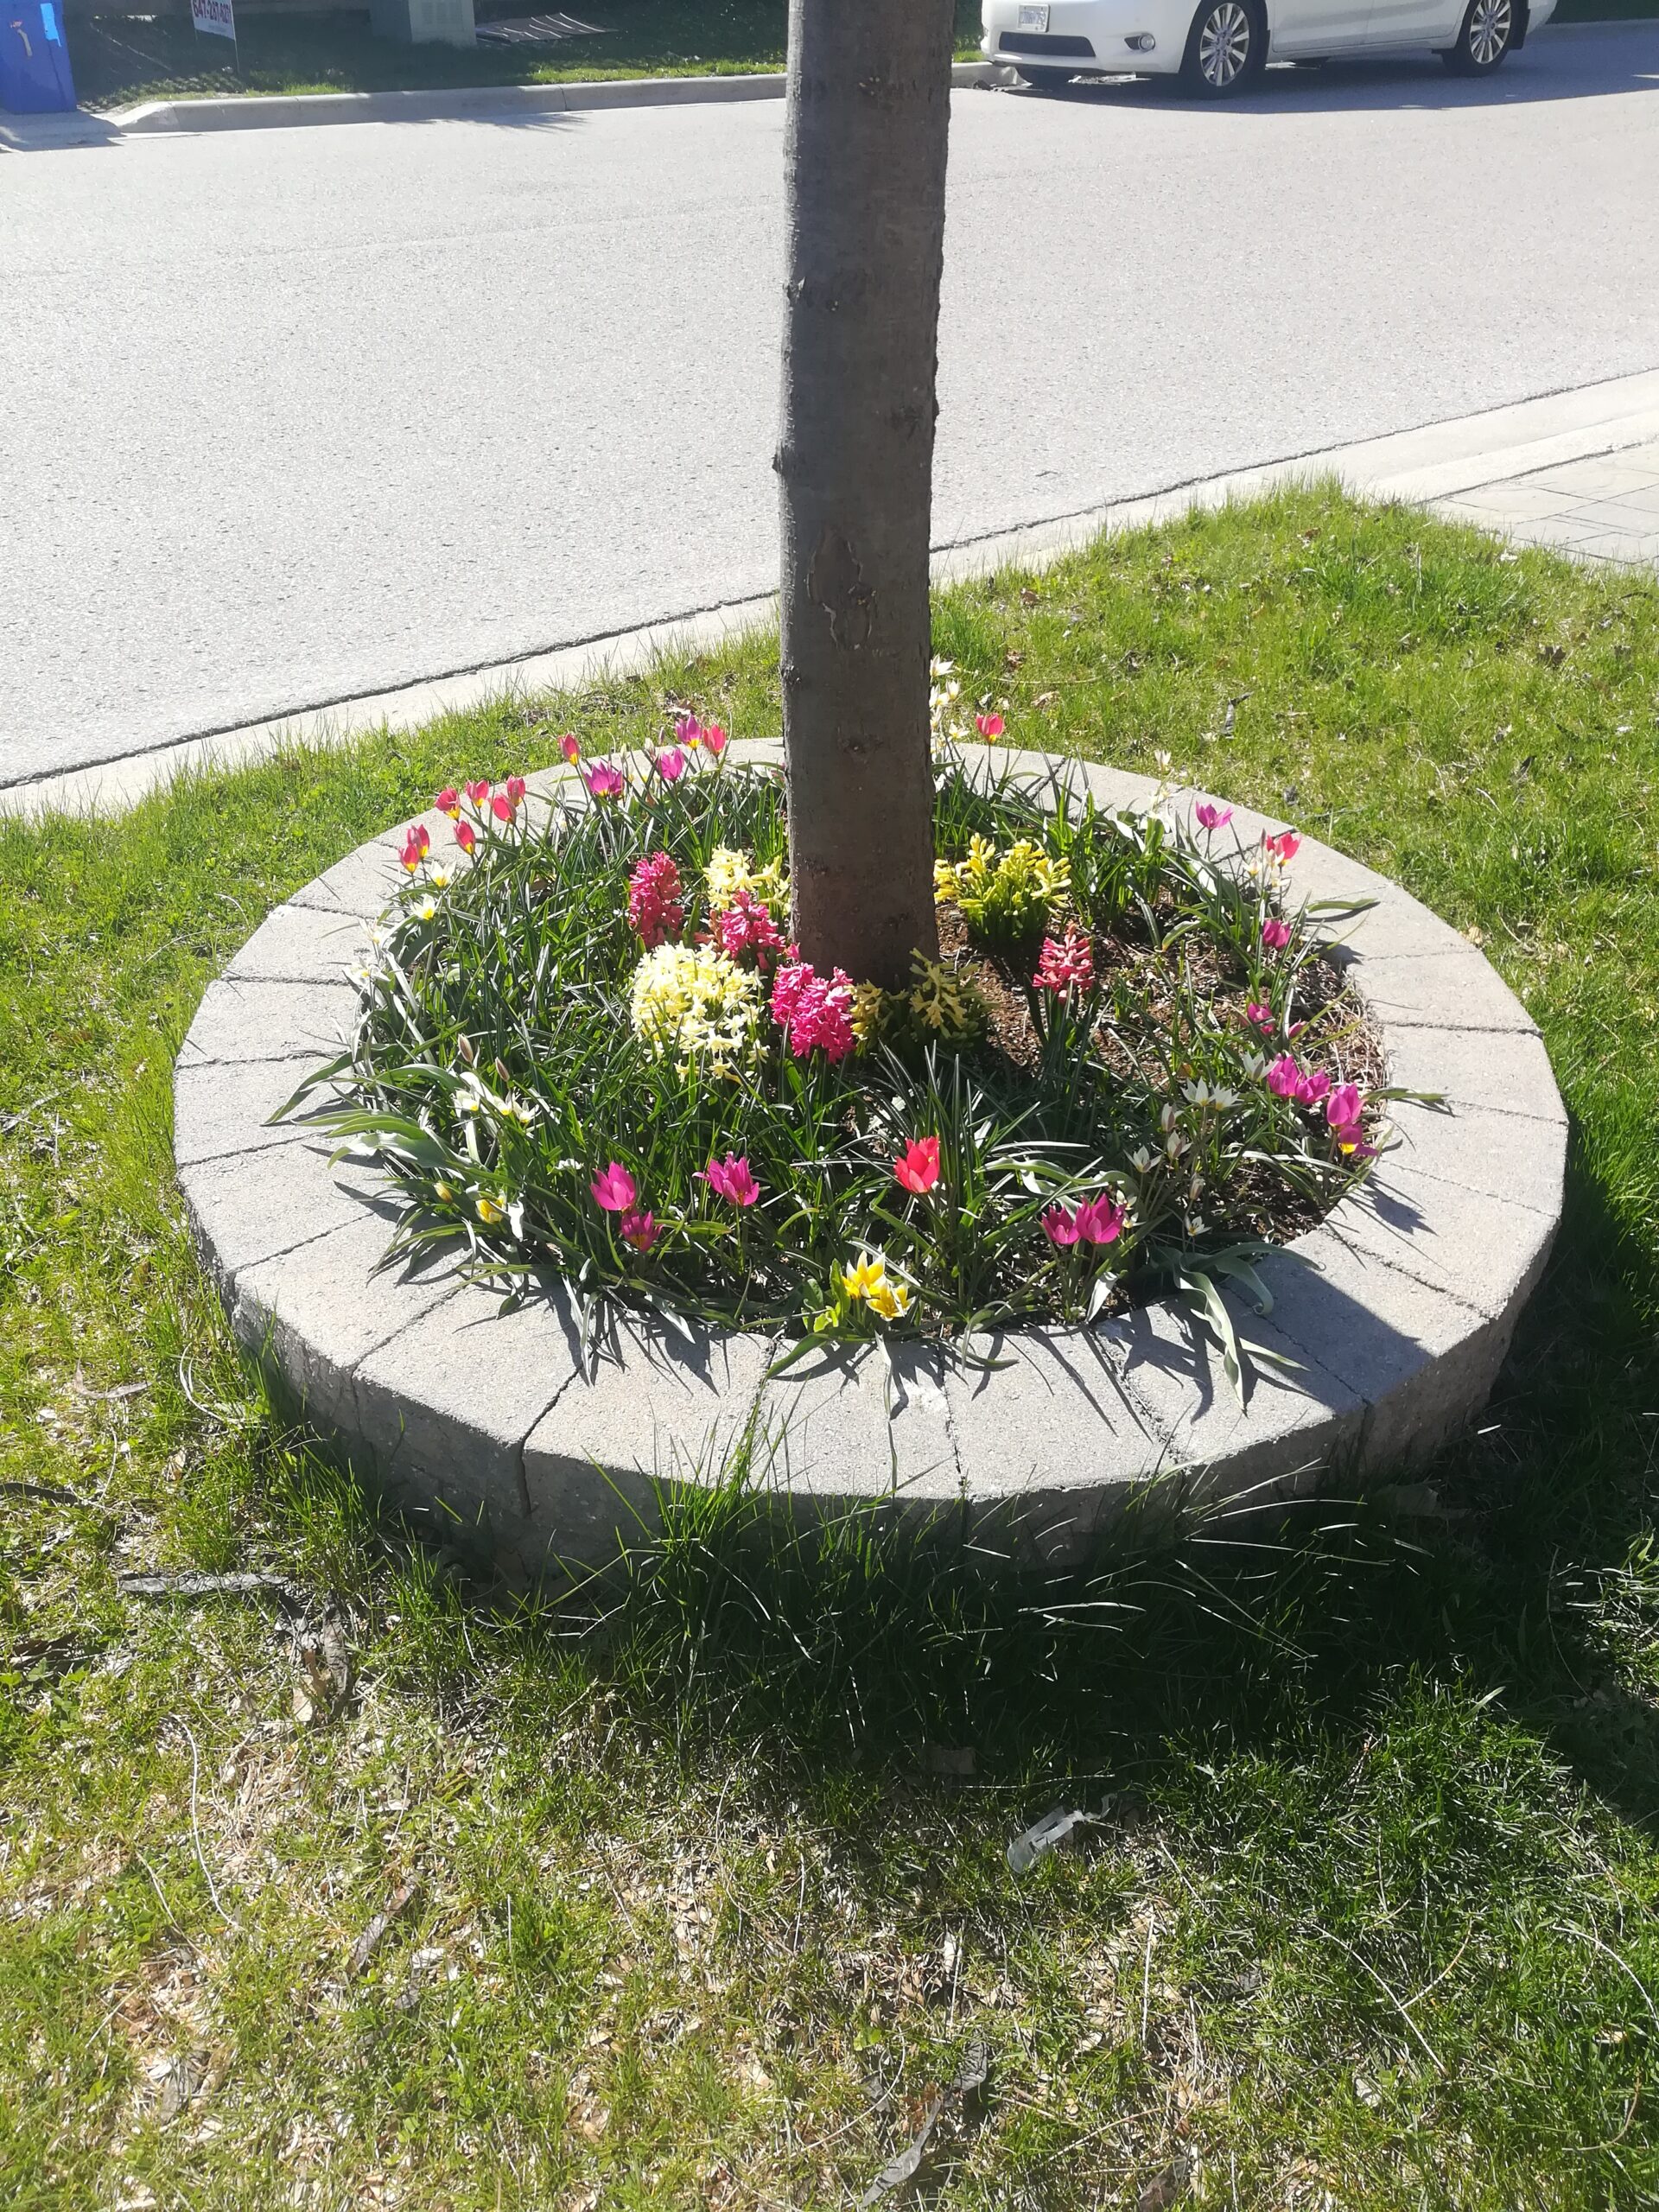
This is the scene in spring.
This is the scene in midsummer.